Now on YouTube

Stop Consuming.
Start Creating.

DIY electronics, woodworking & 3D printing projects broken down step-by-step. Build speakers, headphones, and more from scratch.

Build With Nate
2+
Projects
3
Disciplines
100%
DIY
Nate working with materials

About Nate

The Tinkerer Who
Couldn't Stop

It all began with a broken VCR when he was about eight. His dad was ready to toss it, but Nate saw a challenge. He spent an entire weekend dismantling it, laying out all the gears, wires, and circuit boards. He never managed to fix it, but the sheer joy of understanding how it worked was an intoxicating revelation.

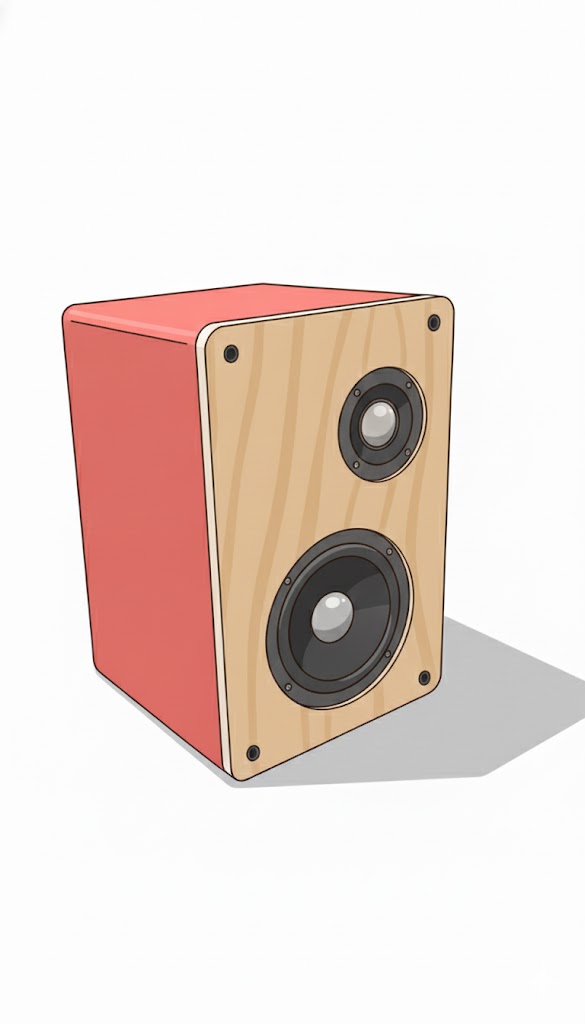
In high school, the frustration of expensive audio gear that never quite met his specs led to his first real build: a custom speaker system. It was lopsided and the sound was mediocre, but he had made it. That moment taught him a fundamental truth: if you want something done right, build it yourself.

"Anyone can build anything with the right guidance, a few tools, and a bit of courage to take the first step."

Current Projects

Each build is broken down into woodworking, 3D printing, and electronics. Hover the images to see inside.

Completed custom speaker Speaker exploded view showing internals
Hover to explode
Speaker crossover circuit board
Project 01

Custom Speaker

Build a two-way bookshelf speaker from scratch. Construct the acoustic enclosure from MDF, 3D print port flares and driver mounts, then wire the crossover network that splits frequencies between the woofer and tweeter for balanced, room-filling sound.

Woodworking 3D Printing Electronics
Watch the Build
Completed custom headphones Headphones exploded view showing internals
Hover to explode
Headphone amplifier circuit board
Project 02

Custom Headphones

Design and build over-ear headphones from the ground up. 3D print custom earcup shells, select and install drivers matched to your preferred sound profile, then wire up a Bluetooth receiver module with battery and amp circuit for a fully wireless build.

Driver Selection 3D Printing Ergonomics
Watch the Build

FAQ

Everything you need to know about the build process.

Medium-Density Fiberboard (MDF) is often recommended because it's dense, non-resonant, and relatively inexpensive, which helps keep the sound clear. Plywood is another good option. The cabinet size (volume) is critical because it directly impacts the speaker's acoustic performance, specifically the low-frequency (bass) response, and must be precisely matched to the specifications of your selected driver.
PLA is a great starting point for functional parts due to its ease of printing and rigidity. However, PETG or ABS are better choices if the parts will be exposed to heat or need higher strength, as they offer better temperature and impact resistance. The key is a material that is rigid to prevent unwanted vibrations.
Yes, absolutely. The crossover is an electronic filter that directs high-frequency signals to the tweeter and low-frequency signals to the woofer. Choosing the right one involves matching the crossover's frequency to the recommended frequency range of your drivers to ensure smooth, balanced sound and prevent driver damage.
Use high-quality wood glue (like Titebond) on all joints and add a bead of silicone or acoustic sealant around the driver openings and any access panels. An airtight seal is crucial for acoustic suspension cabinets because it creates an air spring behind the woofer cone, which controls its movement and dictates the bass response.
For the wood cabinet, sand with progressively finer grits (up to 220) followed by a few coats of oil finish, clear varnish, or paint. For 3D printed parts, sanding and priming followed by spray paint can hide layer lines. Alternatively, you can design the parts with texture or use an epoxy finish for a smooth, high-gloss look.
PLA is commonly used for its rigidity and ease of printing. For a more professional look and feel, ABS or PETG offer greater durability and resistance to stress. The material choice is crucial as the shell's rigidity and mass directly impact the acoustic characteristics, especially the bass resonance and sound isolation.
Key specifications: Impedance (Ohms, affects volume with different devices), Sensitivity (dB/mW, efficiency of power-to-sound conversion), and Frequency Response Range (e.g., 20 Hz to 20 kHz). Higher impedance drivers (100+ Ohms) usually require a dedicated headphone amplifier.
Comfort hinges on clamping force and weight distribution. The headband design should minimize pressure points, often achieved with an articulated or suspended inner band and soft padding. Choose breathable earpads like velour or soft protein leather. Pad shape (circular vs. oval) should fully encompass the ear to prevent sound leakage and pressure on the cartilage.
You'll need a Bluetooth Receiver Module (handles wireless transmission and decoding), a small Li-ion/Li-Po battery, and a charging circuit (often integrated into the Bluetooth module). For high-quality audio, look for modules that support advanced codecs like aptX or LDAC. You also need a small amplifier circuit, as the Bluetooth module's output may not be powerful enough to drive higher impedance drivers.
Common materials include acoustic foam, felt, or non-woven fabric placed strategically behind the driver and around the internal cavity. For external noise isolation, the earcup shell must be rigid and sealed, and the earpads should create a good seal against the head. In open-back designs, dampening manages internal reflections while allowing air to pass through for a wider soundstage.

The Shop

DIY kits and components to get you building. Stay tuned.

Speaker DIY Kit

Speaker Kit

All components to build your own bookshelf speaker from scratch.

Coming Soon
Headphone DIY Kit

Headphone Kit

Everything you need to build custom over-ear headphones.

Coming Soon